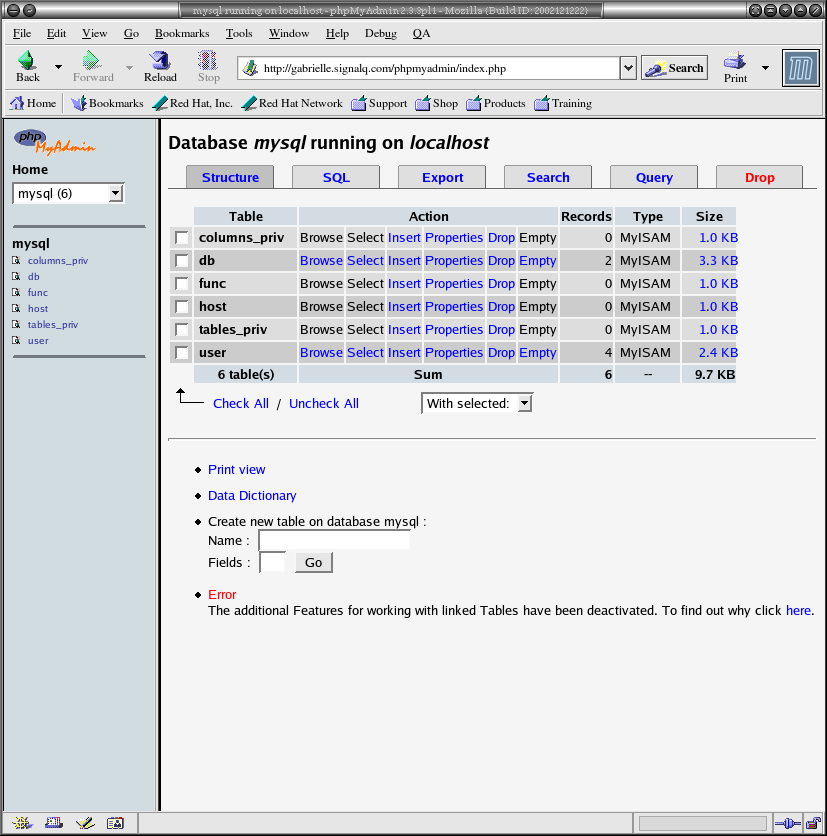
PhpMyAdmin is a web application used, on admin side, to manage a MySQL database easily. The application gives you the possibility to create databases and tables, add or remove columns, make queries in reading and writing and so on.
This web app, written in PHP, is open source and it allows you to supervise your website's databases globally, processing, among other things, backup (dump) of all informations inside them.
To install phpMyAdmin you need to install and activate MySQL and Apache on your VPS.
If you own a Debian Linux VPS use the command from SSH terminal:
apt-get install phpMyAdmin
If you manage a CentOS Linux VPS, use the following commands
To enable epel repository
sudo yum install -y epel-release
To refresh packages
sudo yum –y update
To install apache web server
yum install httpd -y
To check if it's successfully enabled:
systemctl status httpd
or if stopped:
systemctl start httpd
To install phpmyadmin:
sudo yum -y install phpmyadmin
Windows VPS
If you own a Windows VPS you can install it by opening (on the remote desk) a window of your browser and checking the dedicated guide. Then download the latest updated version and unzip it with the dedicated software in a folder.First, create a MySQL user to enter phpMyAdmin. To process the operation open a terminal window remotely and follow a few steps:
- Enter the command
myspl-uroot-p - Enter your root password
- Enter the command
GRANT ALL PRIVILEGES ON databasename* TO 'username' @'localhost IDENTIFIED BY 'mypassword' WITH GRANT OPTION - Rename the file config.sample.inc.php from C:\apache\htdocs\phpMyAdmin\config.sample.inc.php toC:\apache\htdocs\phpMyAdmin\config.inc.php
- Edit config.inc.php with Notepad, where you will find the following command line
$cfg['Servers'][$i]['auth_type'] = 'cookie' - Replace the previous command line with the following instructions, where "pippo" and "pluto" represents the username and password you previously chose for MySQL:
$cfg['Servers'][$i]['user'] = 'pippo';
$cfg['Servers'][$i]['password'] = 'pluto';
$cfg['Servers'][$i]['auth_type'] = 'config'; - Save file;
- Look for the file C:\Apache\php\php.ini and modify it as it follows:
In correspondence to extension=php_mbstring.dll delete ; to activate the extension: extension=php_mbstring.dll - Save the previous file and restart Apache with the following command:
/etc/rc.d/init.d/httpd restartorapache2 -k restart.
After the installation, phpMyAdmin will be available on a URL like this http://www.mydomain.com/phpmyadmin.